
Whilst I have not posted for a while and I am still waiting on my wing kit, I decided to have a go at some aluminium. In a previous post you saw the outside tank ends, but now onto something a little more substantial – the ribs and tank skin.
The plan is to make the ribs, fold the skin, bead the tank skin, drill and then match drill the ribs. Once I can cleco it together, I will then get the drains, fuel outlet and tank filler welded, before riveting and final welding. The welding and riveting will be in a separate post.
Step 1: The first thing I did was build the rib template to plans and fold the two outside tank ribs. See previous post.
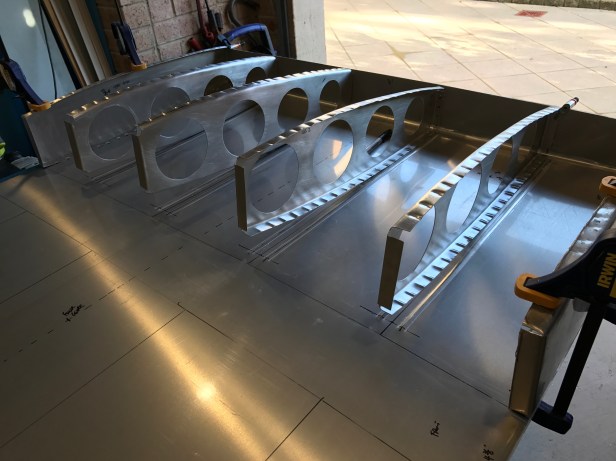
Step 2: Make the four internal ribs. I used the same rib template to ensure the correct size. Then used a large hole cutter to make the holes.
One thing I learnt is make sure the hole cutter is locked and can’t move. I ended up putting a mark on the lock nut to ensure that it wouldn’t unwind and incorrectly enlarge the hole diameter. I learnt this fortunately on some scrap when figuring out how to work it. It un-did and I didn’t get a circle!!


Also note!!!!!!! In this picture above you can see both left facing and right facing ribs. This is not shown on the plans, but I have done that so that I can reach from each side when riveting the ribs to the skin when closing it.
Step 3: Fold the skin around, match drill and cleco close. Test fit drains and filler.

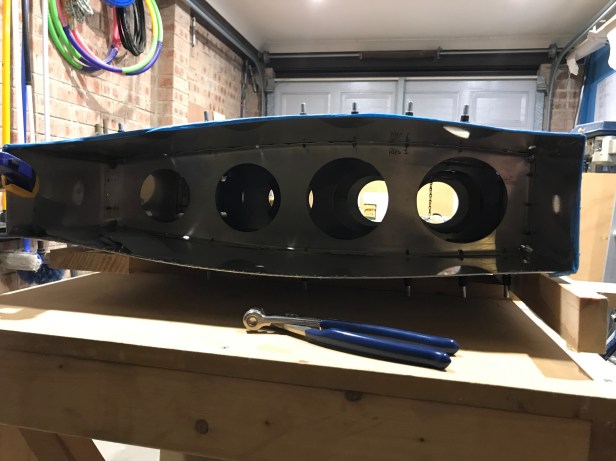
And now….we wait for welding. Will be back for part 2 later.
