
OK a quick tutorial on how to make wooden wing ribs.
Step 1: If you want to do this the easy way…. but a wing rib kit from Steen (if you are building a Skybolt) as well as the rib jigs. If you dont want to buy the gussets, capstrip and jigs – thats fine you can make them, but man that would take a lot of time
Step 2: From here I am using a rib kit and the jigs. Next step is to lay some Glad Bake into the jig. This stops the glue sticking. Then cut out the gussets from the sheets that come with the kit. One sheet per rib. It does take a bit of tim to figure out which of the 6 jigs to use. Once you have done a couple you can figure that out. You will notice in the picture below that the nose rib is already cut – another time saving from the kit.

Step 3: Trim Capstrip and lay it in. You will notice that you need to notch the fronts of the top and bottom cap strip to lock it into the nose rib infill. Trim the rest. I do the verticals first then the angles.


Step 4: Glue. Now once its laid in, I pull it all apart again to start the glueing process. I do one rib in about 35 minutes. Each piece needs to have glue added in the right spot in the joint starting with the bottom gusset, then lay the cap strip in then add the top gussets.
Step 5: Lay another sheet of Glad Bake on top of the ribs, ready to sandwich between the bottom of the jig and the perspex overlay
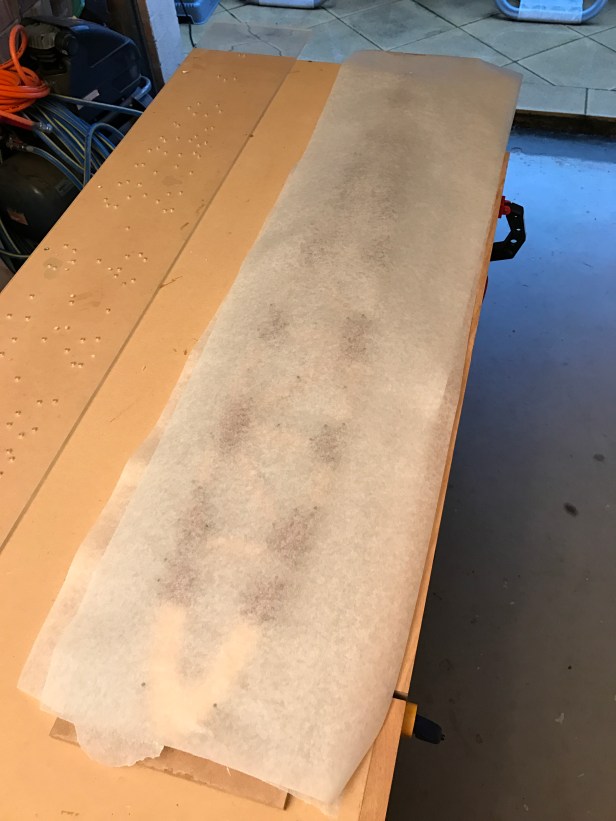
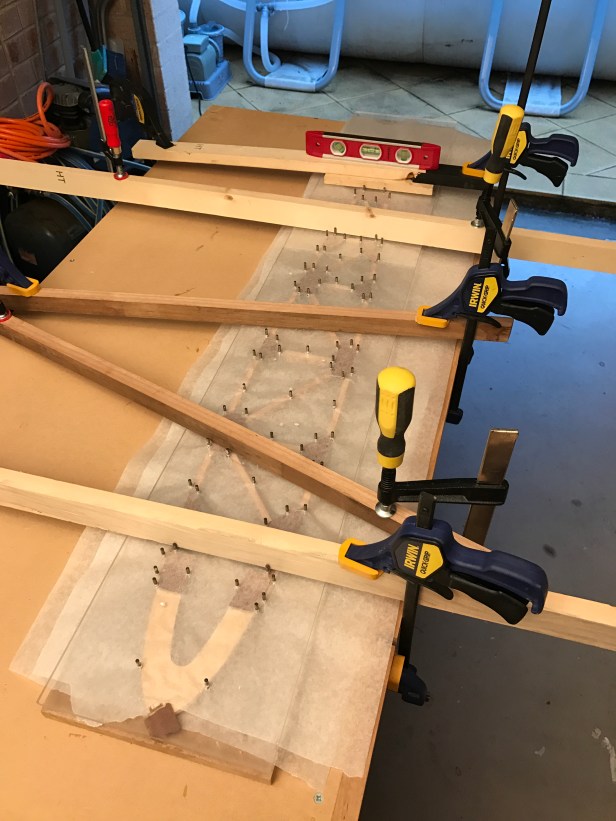
Step 6: Place the top on and clamp to hold flat. Once clamped drying only takes about 12 hours.
Step 7: Once dried and removed from the jig, there is quiet bit of sanding that is required. What I have done is use a file with the jig in a vice to file out the spar location holes, then used a linisher to sand any glue on the outside of the rib. Any further removal of glue for example on the cap strip is done with a file.
Step 8: Once all of the ribs are dry I then joined them up to profile sand. This takes quite some time to get the profile of the ribs together so they are the exact same size and profile
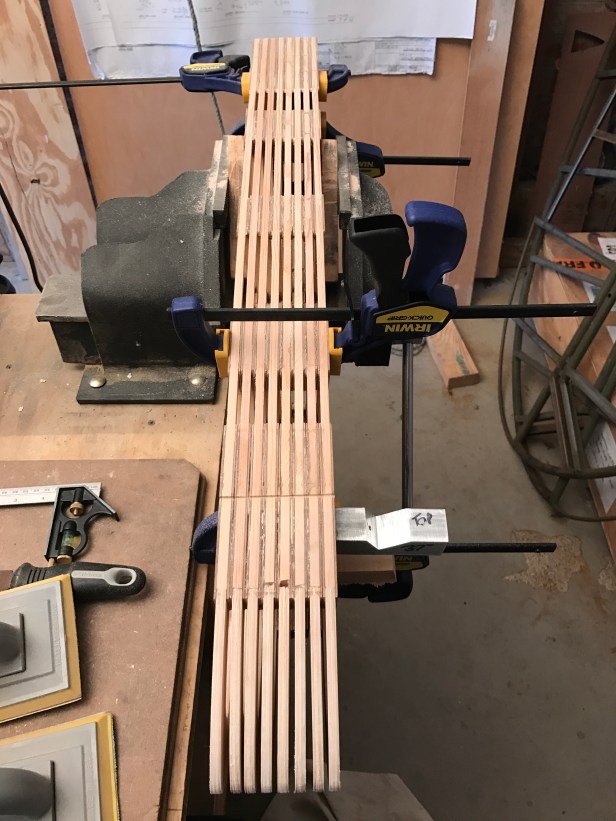
Step 9: All done and ready for placement onto the spars

